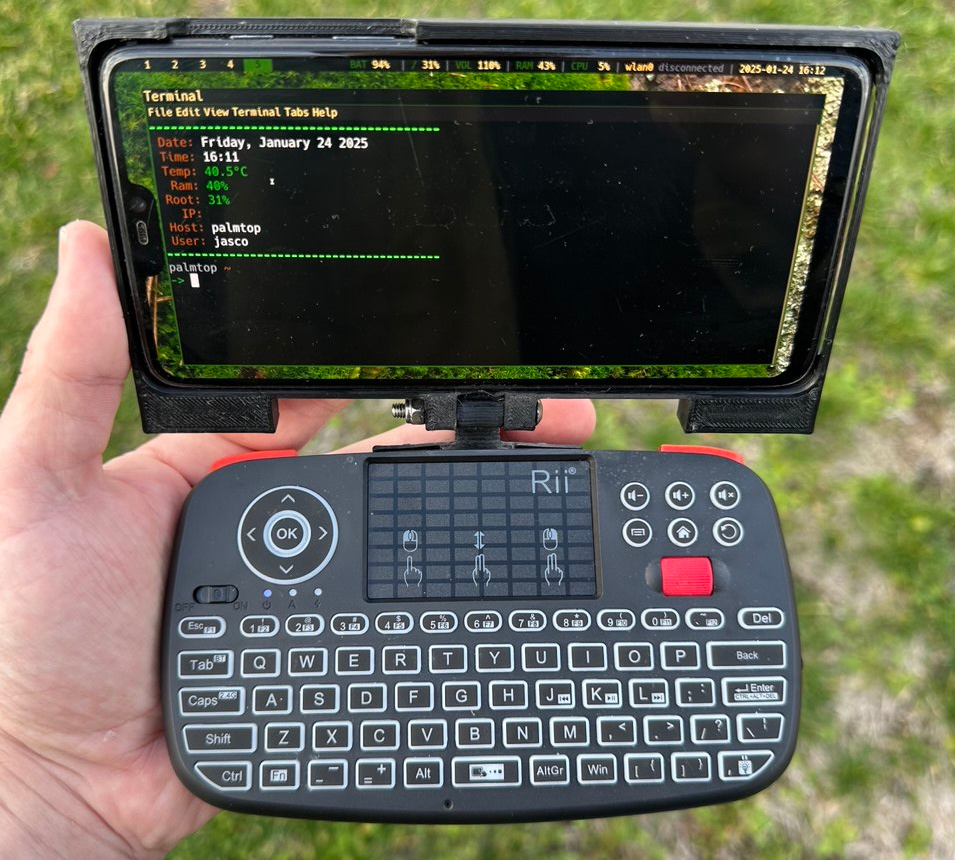
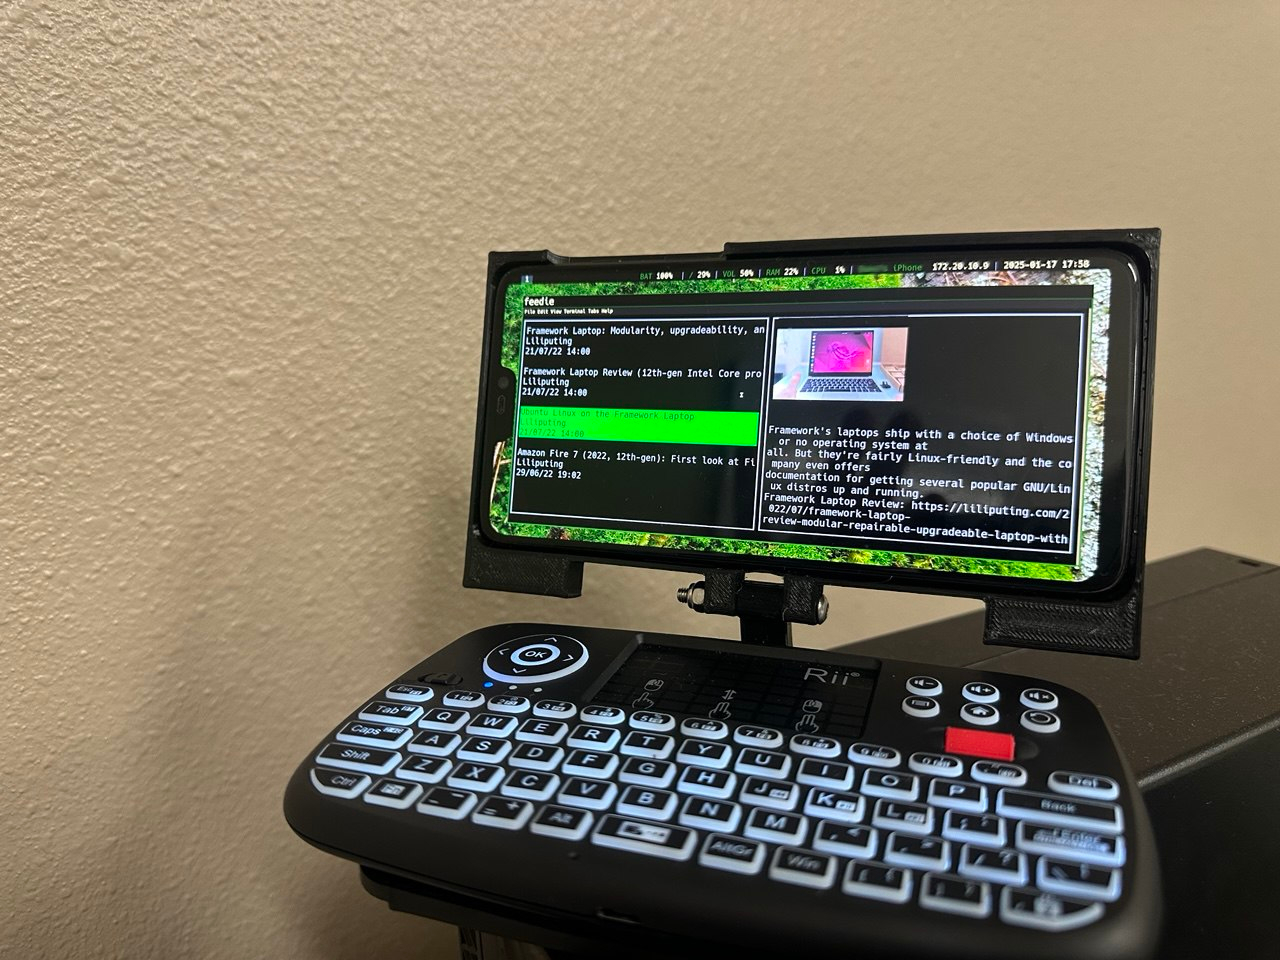
A Linux handheld for less than $150
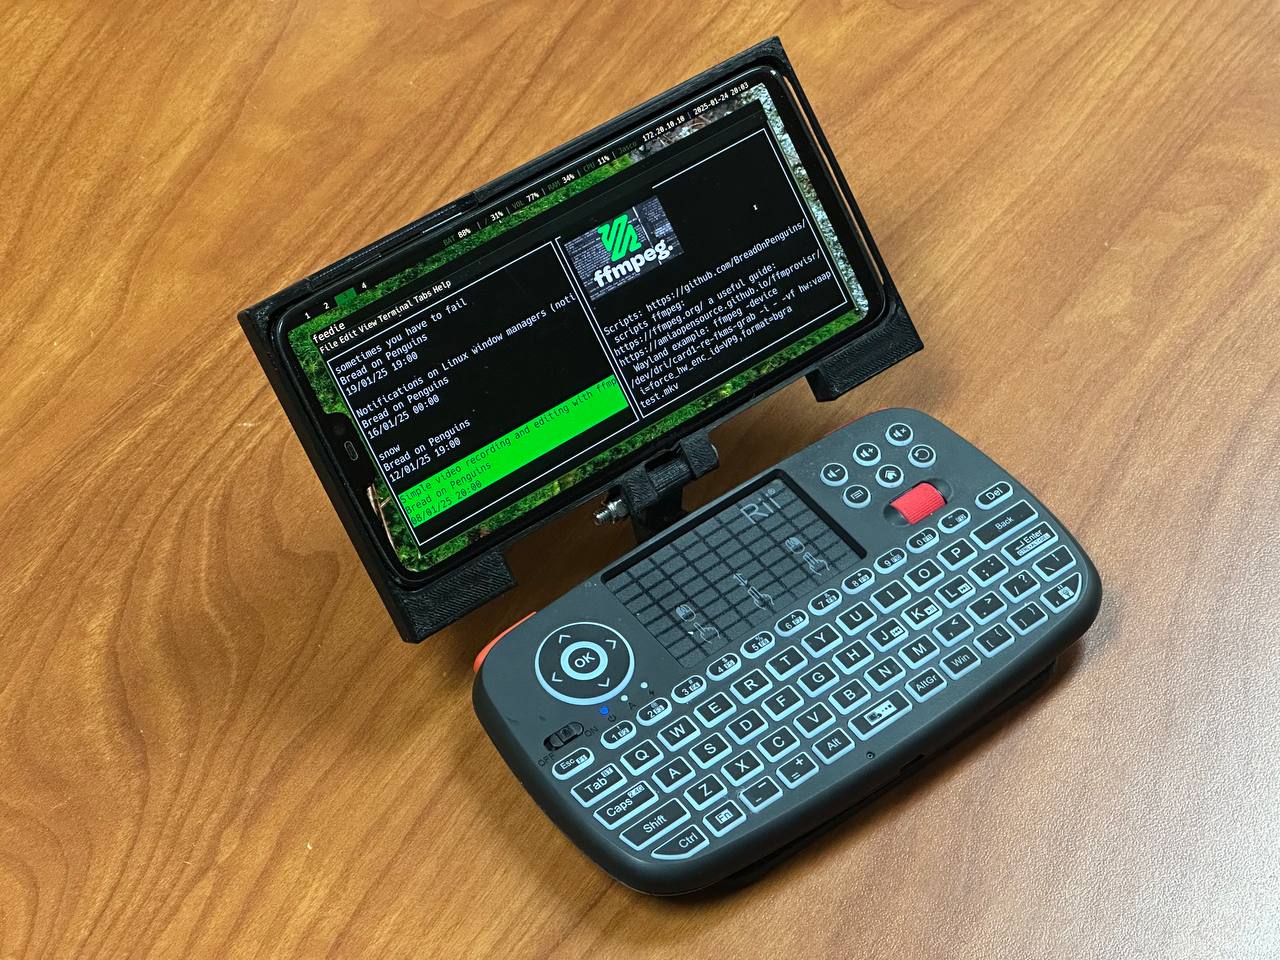
Have the full power of the Linux desktop in the palm of your hands!
Purpose
For years I have longed to be able to use the various scripts and utilities I have written away from my laptop or desktop. Additionally I get paranoid about background processes and data mining that every modern-day smartphone utilizes. The Step satisfies these needs, running a derivative of Alpine Linux, PostmarketOS.
See also the accompanied blog post, Palmtop Paradise, hereFeatures
- Decent battery life! 3-4 hours of video streaming, all day battery life for lighter tasks such as audio playback with the screen off or light web browsing.
- A comfortable, physical keyboard. I've had a number of RII wireless keyboards and have no real complaints, the RII i4 is the best one I've used yet
- Full control over your mobile digital experience!
- Pocket sized*! *This probably won't fit in pants pockets but fits great in a coat pocket, holster design coming soon!
- Wow factor! Steal glances from nerds and other losers who would be interested in a mini laptop
Materials
- 1x Oneplus 6
- 1x RII i4 wireless keyboard (link)
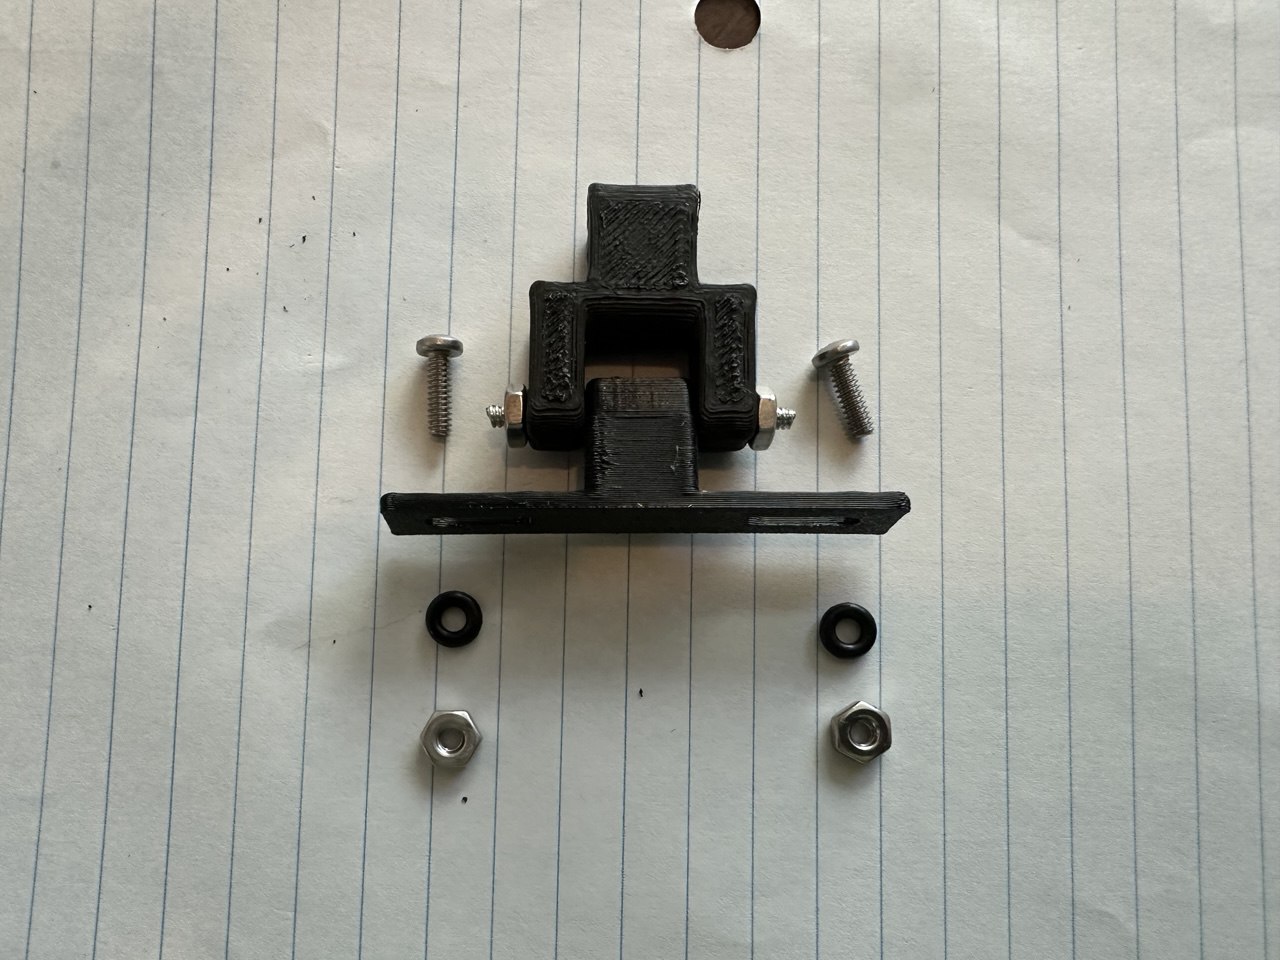
- 1x Top frame (stl file linked below)
- 1x hinge (stl file linked below)
- 1x weight holder (stl file linked below)
- 1x 90mm of 1/8" x 3/4" steel bar
- 2x #60 rubber O ring
- 5x SAE #4 1/4" screws (could be substituted with M3 screws)
- 5x SAE #4 nuts (could be substituted with M3 nuts)
- 1x M4 lock nut
- 1x M4 35mm socket head screw
- thin double-sided adhesive
3D Printer Files
I used PETG filament with 100% infill, you could probably use a lower infill level.
Assembly
- Disassemble the RII i4 wireless keyboard by removing the six screws from the bottom case. Be sure to remove the battery before prying apart the top and bottom case as this can damage the battery connector. You are likely going to use force as the bottom two tabs are quite stiff.
-
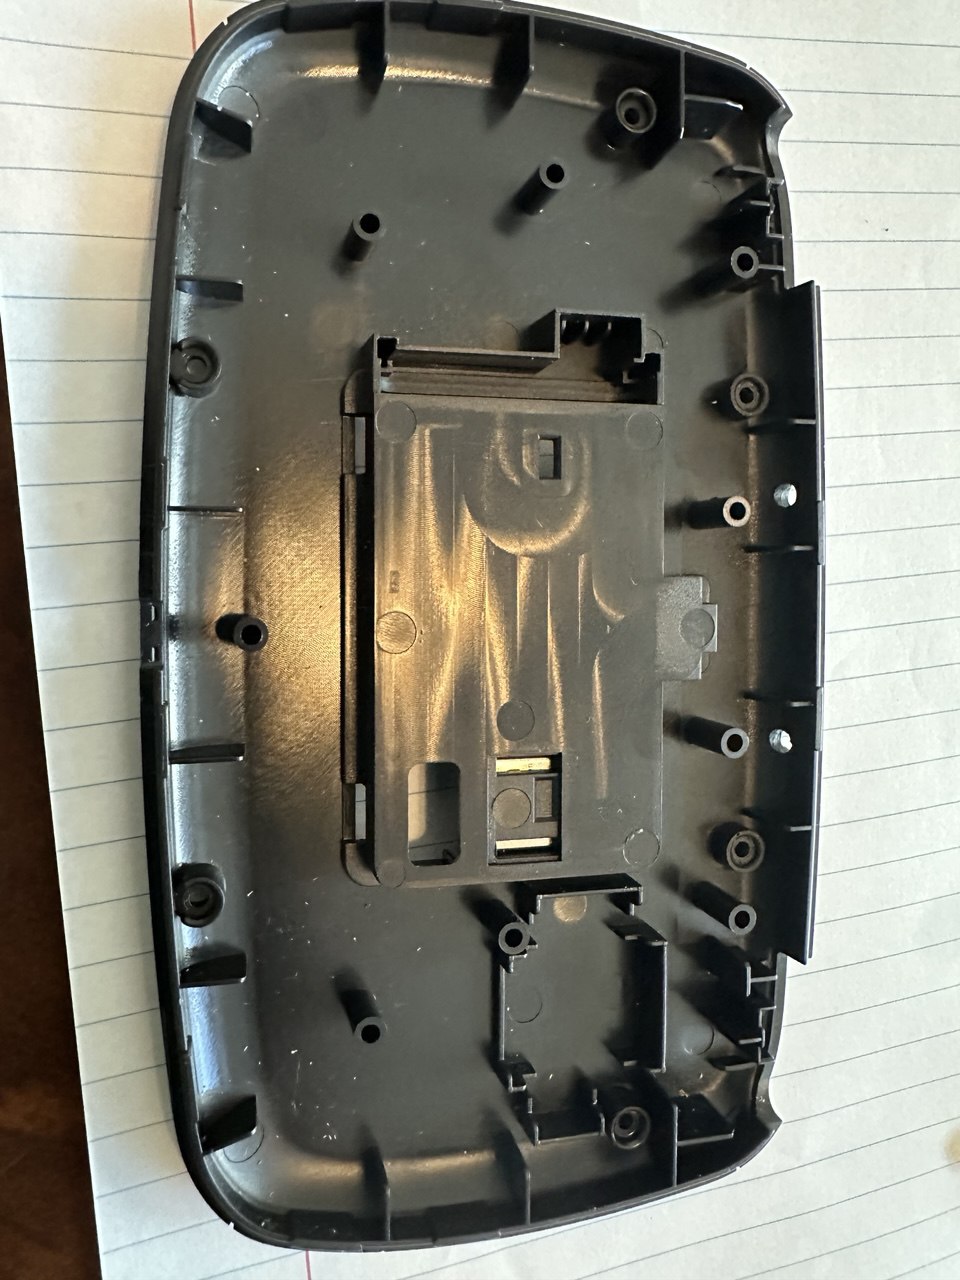
Drill two 5/16" holes along the top edge of the bottom case, placing them between the two plastic ridges as shown in the picture above. Keep the holes aligned vertically, but there is wiggle room horizontally.
-
NOTE: The hinge pictured was from a previous design, ignore the threaded rod in the following pictures
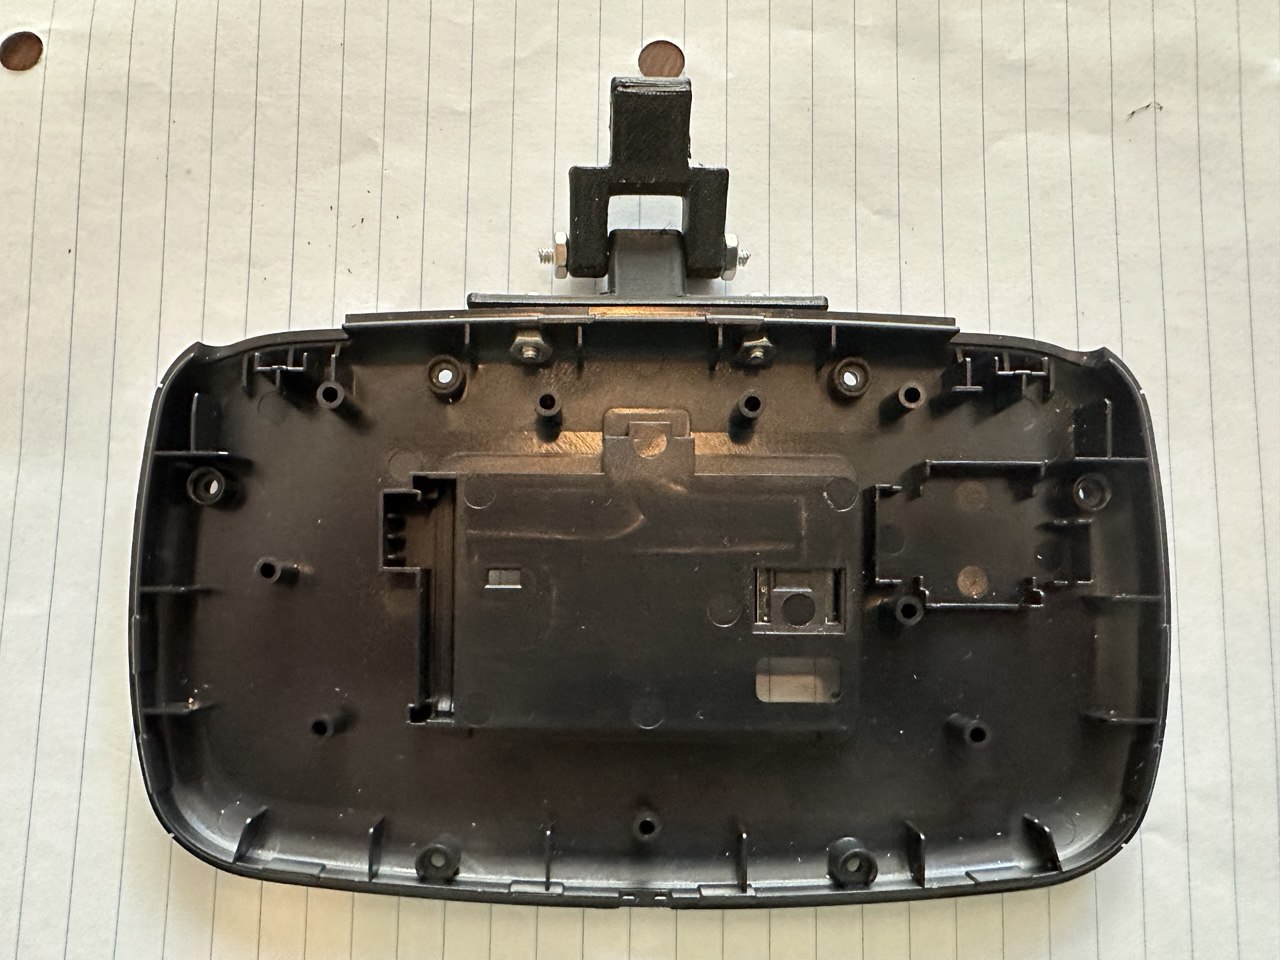
Attach the hinge to the bottom case using two SAE #4 screws, place the O rings between the bottom side of the hinge flange and the keyboard's bottom case. Loosely tighten the nuts and align the hinge so it is centered with the keyboard.
-
Using the bottom slot of the hinge as a guide, mark where the third hole will be drilled. Try not to let the hinge move horizontally as that will cause a misalignment between the screen and keyboard. Remove the hinge, drill another 5/16" hole where you marked, reassemble the hinge, placing the third screw through the bottom slot and newly drilled hole. Tighten all screws/nuts firmly.
 Ignore the fact that the top frame is attached in this picture
- Place the section of steel bar within the weight holder. It should pop in with a little force.
-
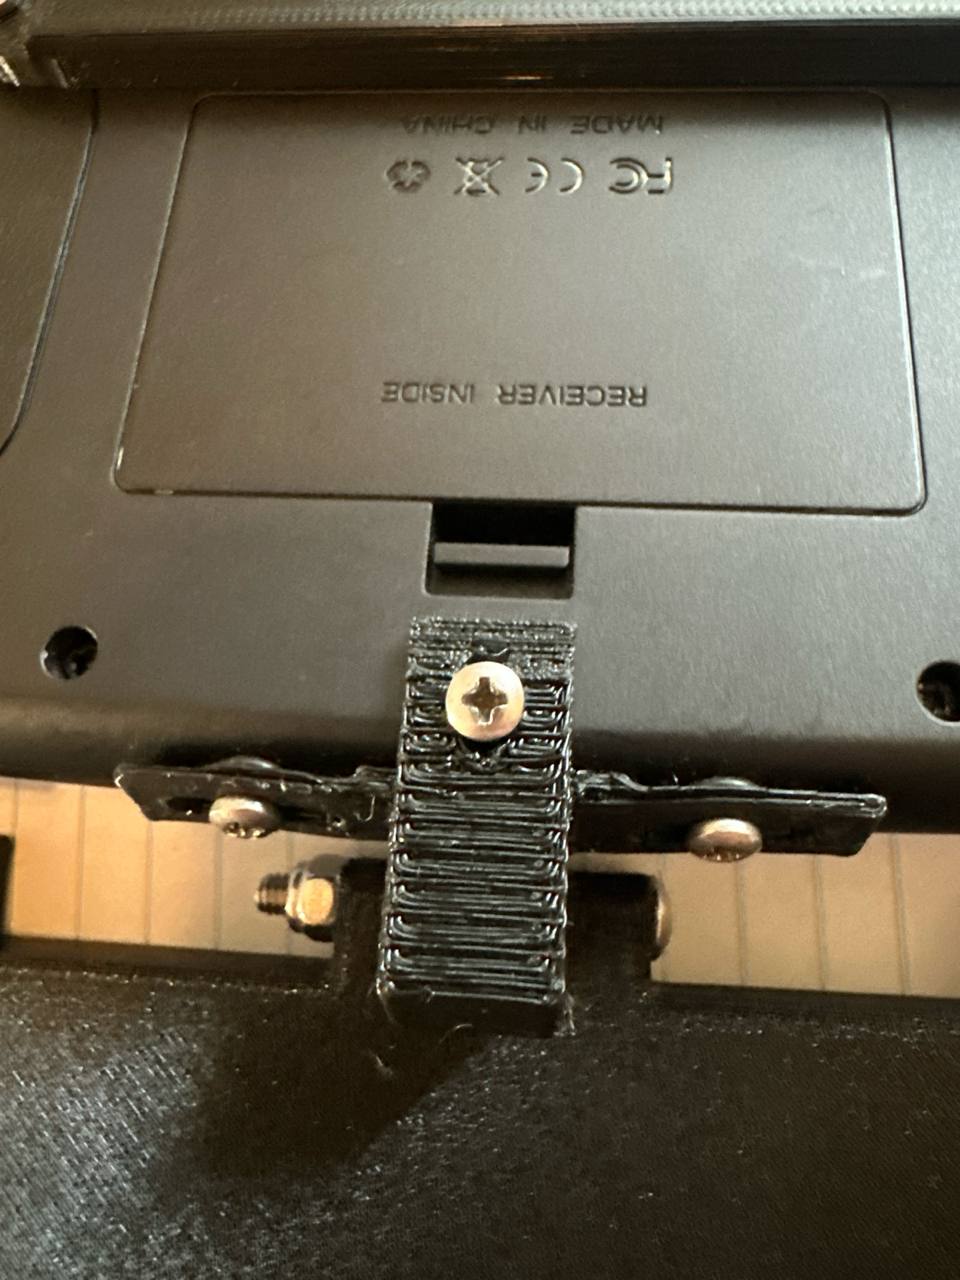
Using the weight holder as a guide, find a spot near the bottom edge of the keyboard case where the slots of the weight holder and the grooves on the bottom of keyboard case line up. Mark these two points and drill another two 5/16" holes.
 You can see the grooves on the top side of this picture. Ignore the fact that the top frame is attached in this picture
- Attach the weight holder using two SAE #4 screws and nuts. You want to tighten it enough where you can slide the weight holder laterally with some force, but not too loose as to where it moves on its own.
- Moving onto the top case before it is assembled, screw and unscrew the M4 screw through each hole to ensure easier installation.
- Install PostmarketOS on your Oneplus 6. You will no longer have access to the volume keys necessary to put it into fastboot mode, so make sure it is installed before moving onto the next step.
- Using the double-sided adhesive, apply strips along the inner cavity of the top frame, however much is necessary to keep it from falling out.
- When placing the phone into the top frame, push it upward to ensure the volume buttons are not being pressed.
- Press the hinge into the slot in the top frame. Start the screw by hand until there are a few rings of threads on the other side. Start threading the lock nut until you feel resistance from the lock nut. Then use a pair of pliers to hold the lock nut in place and an Allen key to screw.
- Tighten until there is enough resistance to hold the display in place, but not too tight as to put strain on the hinge.
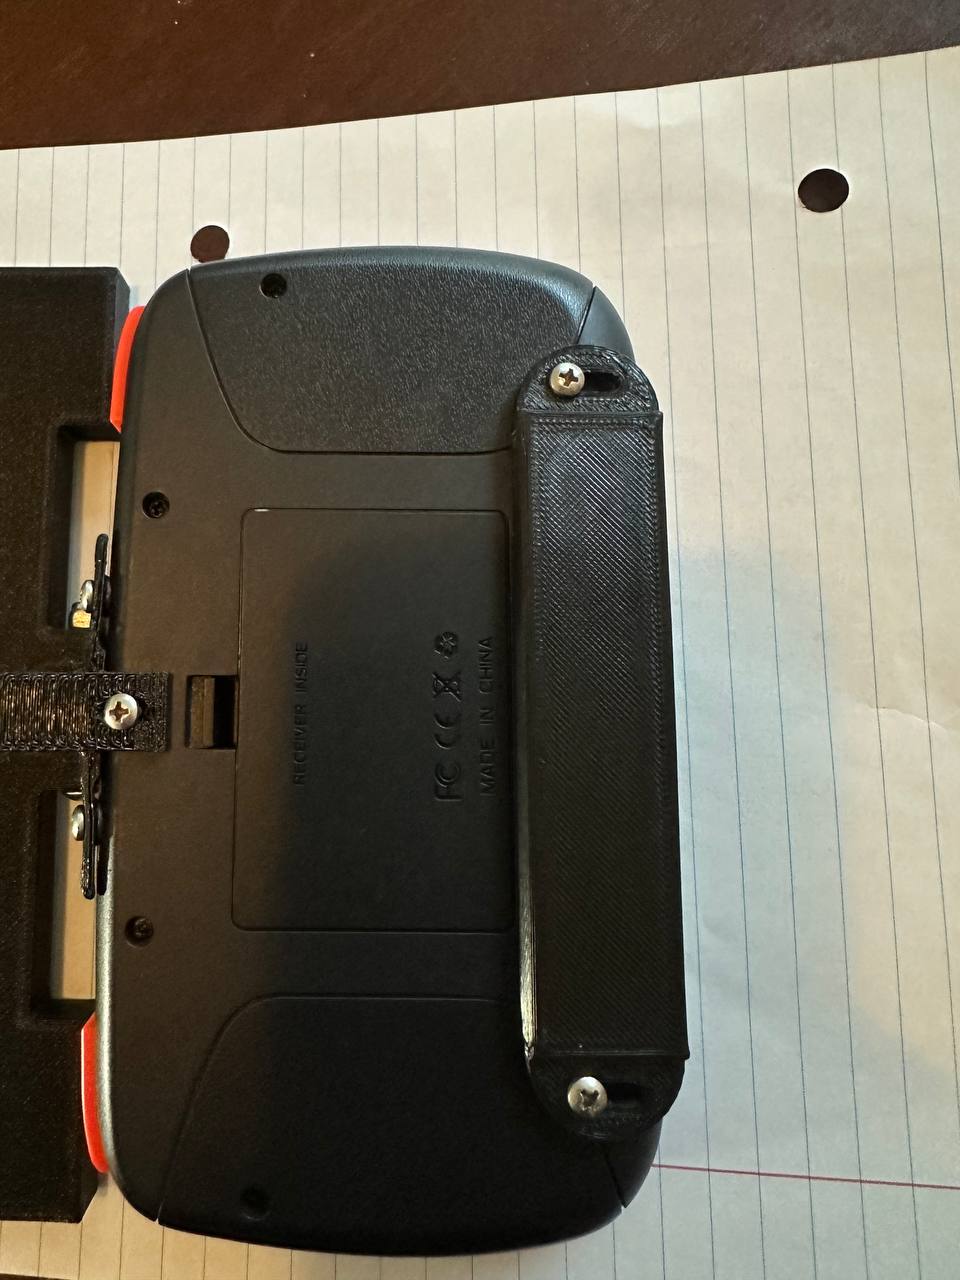
- Snap the top part of the keyboard into place and screw it back together. Depending on your placement of the weight holder you may need to slide it upward to put in the bottom screws, slide it back down after tightening the screws for optimal counter-balance performance and to maintain access to the battery hatch.
- Insert the battery for the keyboard.
- You now have your own Step mini computer!
Software tips and scripts
- I needed to run bluetoothctl as root in order to pair the keyboard
- For X11, using "xrandr --dpi 230" gave me a pleasant viewing experience without the blurring that comes with display scaling, you may need to run it a few times to have it take effect. Also I have young eyes and good vision, so you may need to bump up that number
- running "xinput set-prop 7 129 0 1 0 -1 0 1 0 0 1" fixes the touch input for the rotated screen. You may need to change the device id (the 7 in the command) depending on the id of your touch screen, which you can obtain by running "xinput list"
- Here is a bash script I use to adjust brightness as well as "lock" the display (setting the brightness to 0 and disabling input from the keyboard and touch screen). If you add the nopass option in the sudoers file for the script, you can bind "brightness_control toggle" to the power button. running "brightness_control +100" makes the display 100 units brighter and 100 units dimmer for "brightness_control -100". You can set it to a specified brightness (out of 1024) by running "brightness_control (your desired brightness value)"
Noted shortcomings
- The keyboard is connected via bluetooth, and thus will occasionally run into pairing issues which are normally resolved by restarting.
- You need to charge the keyboard battery separately from the phone, albeit less frequently (every few days if you are using it frequently).
- acpi battery charge level is misleading, there may be intermittent shutdowns if the battery level is below 25